

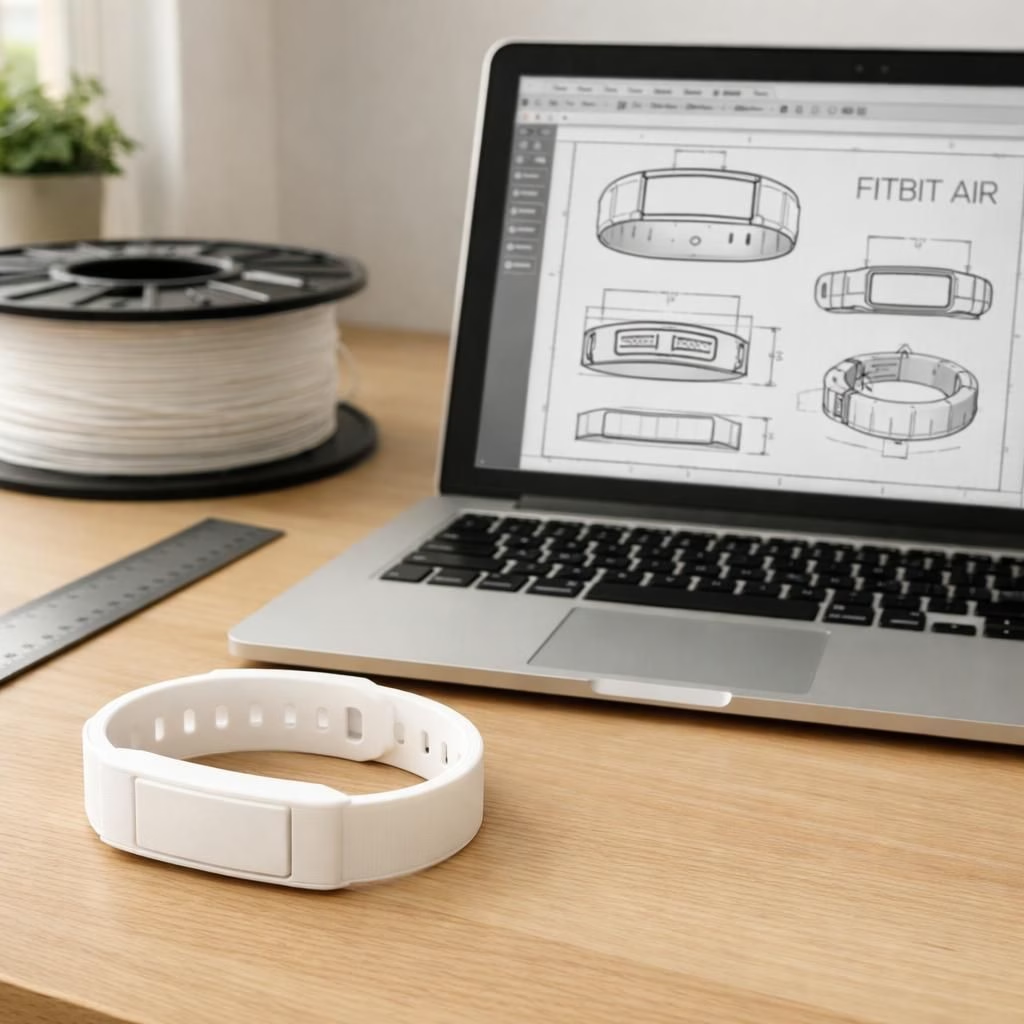
In wearable tech, Fitbit Air CAD Drawings have landed with a friendly wink. The idea is straightforward: share CAD files for the Air so makers can build bands, clips, and add-ons. This is a handshake with the maker community, not a closed designer pact. When readers see Fitbit Air and CAD Drawings together, the era of secret accessories feels smaller. The ecosystem grows a little friendlier for people who measure twice, print once, and fit the device perfectly.
Practically, this is more than a vanity project. Designers can prototype quickly, test wrist fit, and iterate without a vendor SKU delay. The official CAD Drawings cover dimensions, screw placements, and attachment points; the real magic is community feedback. People swap material ideas, test CAD Drawings asset variations, and share wear tests that reveal comfort in daily routines. The system lowers risk for hobbyists and accelerates learning for students who want to see geometry meet ergonomics in real life.
Fitbit Air CAD Drawings: Why This Opens the DIY Door
Open files invite possibilities. Tinkerers, designers, and curious minds can contribute small innovations that scale into useful wearables. The guidelines cover what counts as a compatible band, where the attachment points live, and how tolerances affect fit. The human side matters: design for comfort, easy cleaning, and secure wear. The shift toward shared CAD Drawings assets lowers entry barriers, speeds iteration cycles, and makes prototyping feel less like a one-way street and more like a playground. In short, the DIY journey becomes more productive, less frustrating, and a touch more elegant when you can adjust a model and reprint it in an evening.
From Fitbit Air CAD Drawings to Real-World Cadence: 3D Printing & Safety
Turning a CAD design into a physical strap or clip is a question of materials, printers, and finishing touches. Most makers start with common FDM processes using PLA or PETG for quick tests, then move to stronger resins or reinforced filaments for long-term wear. Print orientation matters; you’ll want the surface that touches skin to be smooth and free of sharp edges. Post-processing steps—filing, sanding, and careful deburring—make a big difference in comfort. For the band portion, choose a flexible yet durable material that tolerates daily sun and sweat. If you plan to attach sensors or a module, ensure there is clearance for connectors and that cables won’t snag or pull unexpectedly. Remember to test fit with the actual device in typical use cases—typing, driving, exercising—before calling a print a finished product. The goal is safety, reliability, and a pinch of style that doesn’t compromise function.
Community guidelines and best practices emphasize documenting changes, sharing printing settings, and reporting issues with fit. The open ecosystem thrives when builders describe the printer, material, nozzle temperature, and layer height that produced the best results. Always start with conservative tolerances and print a small, test version to verify how the real device sits on the wrist. As with any wearable tech, water resistance and skin compatibility are key topics. If a material irritates skin or if a seam leaks sweat, adjust the design or switch materials. The end result should feel like a natural extension of the device, not a workaround that creates new problems.
Original coverage and inspiration: Thank you to DC Rainmaker for the original Fitbit Air CAD Drawings post. You can read the setting and the wider ecosystem in more detail at the source: DC Rainmaker — Fitbit Air CAD Drawings coverage. The broader reporting also includes notes from 9to5Google, The Verge, Engadget, and GSMArena, which helped shape this overview.
If you’ve experimented with printing your own band or accessory, I’d love to hear how it went. Share your results, tips, and photos in the comments and spark a friendly, constructive discussion. Your hands-on experiences can help others navigate the learning curve and refine their own DIY projects in 2026.
Practical steps to get started with Fitbit Air CAD Drawings
- Review the official CAD Drawings assets and any accompanying guidelines.
- Choose a test material (PLA or PETG) and your 3D printer. Ensure you have safety gear and ventilation as needed.
- Print a small CAD Drawings-based fixture to check attachment points and fit.
- Test the print with the actual Fitbit Air, looking for comfort during typing, driving, and workouts.
- Document settings (printer, material, temperature, layer height) and note fit improvements for others.
- Iterate with refinements and share results, including photos and tips for different materials.
FAQ: Fitbit Air CAD Drawings and DIY Accessories
- Are these CAD Drawings official or community-sourced?
- Google and partners provide the baseline CAD assets, but the ecosystem relies on community feedback and iterations. Treat changes as educational and safety-focused.
- What about skin safety and water resistance?
- Choose biocompatible materials and avoid designs that trap sweat or irritate the skin. Test under typical conditions and adjust as needed.
- Do I need a fancy printer to start?
- Not necessarily. Start with common FDM PLA or PETG for quick tests, then explore stronger resins if you plan long-term wear.
The takeaway: with Fitbit Air CAD Drawings available, designers and students can explore fit, ergonomics, and durability together—without waiting for a new SKU.