In the ever-evolving world of technology, where our data is more precious than a chocolate cake at a birthday party, ensuring the safety of that data is paramount. Enter Windows 11 encryption—a feature that promises to wrap your files in a warm, cozy blanket of security. But wait! Before you get too comfortable, let’s dive into the nitty-gritty of how to check that your Windows 11 encryption is doing its job effectively and keeping your data safe.
Understanding Windows 11 Encryption
First things first: what is this encryption magic? Windows 11 encryption utilizes BitLocker, a built-in tool designed to safeguard your files from prying eyes (or those pesky cyber-criminals). When activated, BitLocker encrypts the entire drive on your PC, making it as difficult for unauthorized users to access your data as it is to find a needle in a haystack—without the needle’s GPS tracker!
But here’s the catch: if you haven’t enabled this feature or if it’s malfunctioning, your data might be hanging out in the digital wild without a care in the world. So, let’s make sure you’re not leaving your precious information exposed like that one sock you always seem to lose in the laundry. Remember, without proper encryption, your files are vulnerable.
How to Check Your Windows 11 Encryption Status
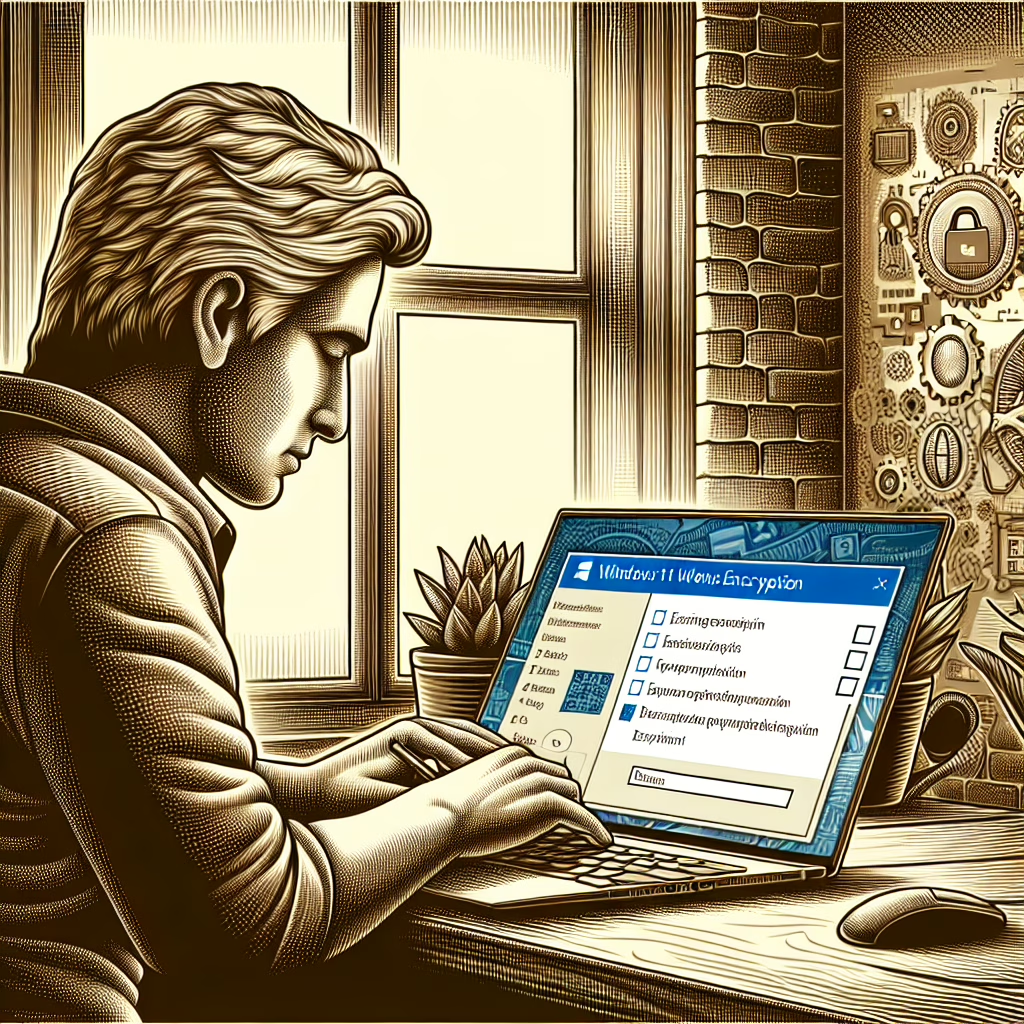
Now that we’ve established how important Windows 11 encryption is, let’s explore how you can check if it’s up and running. It’s as easy as pie—if pie were made with intricate technological steps!
- Open Settings: Click on the Start menu (the little Windows icon at the bottom left corner) and select Settings. It looks like a gear—because who doesn’t love gears?
- Go to Privacy & Security: Once in Settings, look for Privacy & Security on the left-hand side. Click it like it owes you money.
- Select Device Encryption: Scroll down until you find Device Encryption. If you see it, congratulations! You have a chance at keeping your data secure. If not, well… we’ll get to that shortly.
If Device Encryption is turned on, you’ll see a message stating that your device is encrypted. If it’s off, don’t panic! Just click on the “Turn On” button and follow the prompts. It’s simpler than trying to explain TikTok trends to your grandparents.
Why You Shouldn’t Ignore This Feature
You might be wondering, “Why should I care about Windows 11 encryption?” Well, let’s just say ignoring it is like leaving your front door wide open while you go on vacation—inviting trouble while you’re away! Your personal files could be at risk of theft or loss if they fall into the wrong hands.
Moreover, with cyber threats looming larger than ever (seriously, they’re practically wearing capes), securing your data isn’t just wise; it’s necessary. Think of Windows 11 encryption as your loyal guard dog—barking ferociously at anyone who dares approach without permission. By using the built-in encryption, you’re ensuring that only authorized users can access your files.
Common Issues with BitLocker
Now that you’re all set up with encryption (or are about to be), let’s briefly touch on common hiccups you might encounter along the way:
- Password Problems: Forgetting your BitLocker password can turn into an episode of “Lost.” Keep that password safe!
- Hardware Compatibility: Some older devices might not support BitLocker. If that’s the case, consider upgrading or using another method of protection—like a good old-fashioned lock and key!
- Backup Key Misplacement: Losing your recovery key can feel like losing your wallet at a concert. Always have it backed up in multiple places—like cloud storage or under your bed (but not too many places!).
Your Data’s Best Friend: Keeping Everything Updated
No security feature stands alone! To maximize the effectiveness of Windows 11 encryption, ensure that your operating system is always up-to-date. Updates often include security patches and enhancements that keep those crafty hackers at bay. Think of updates as regular maintenance for your digital fortress—you wouldn’t skip cleaning out those cobwebs now would you?
Additionally, consider using antivirus software alongside BitLocker for an extra layer of protection. It’s like wearing both a helmet and knee pads when riding a bike—better safe than sorry!
Conclusion: Secure Your Data Today!
Your data deserves better than being left unprotected in this digital jungle. By checking and enabling Windows 11 encryption through BitLocker, you’re taking proactive steps towards safeguarding your valuable information. So go ahead—take charge of your digital life and ensure that only you have access to what’s yours!
If you found this guide helpful or have any tips of your own regarding Windows 11 encryption or protecting data in general, share your thoughts below! We’d love to hear from you.
A special thank you to TechRadar for their original insights on this topic!